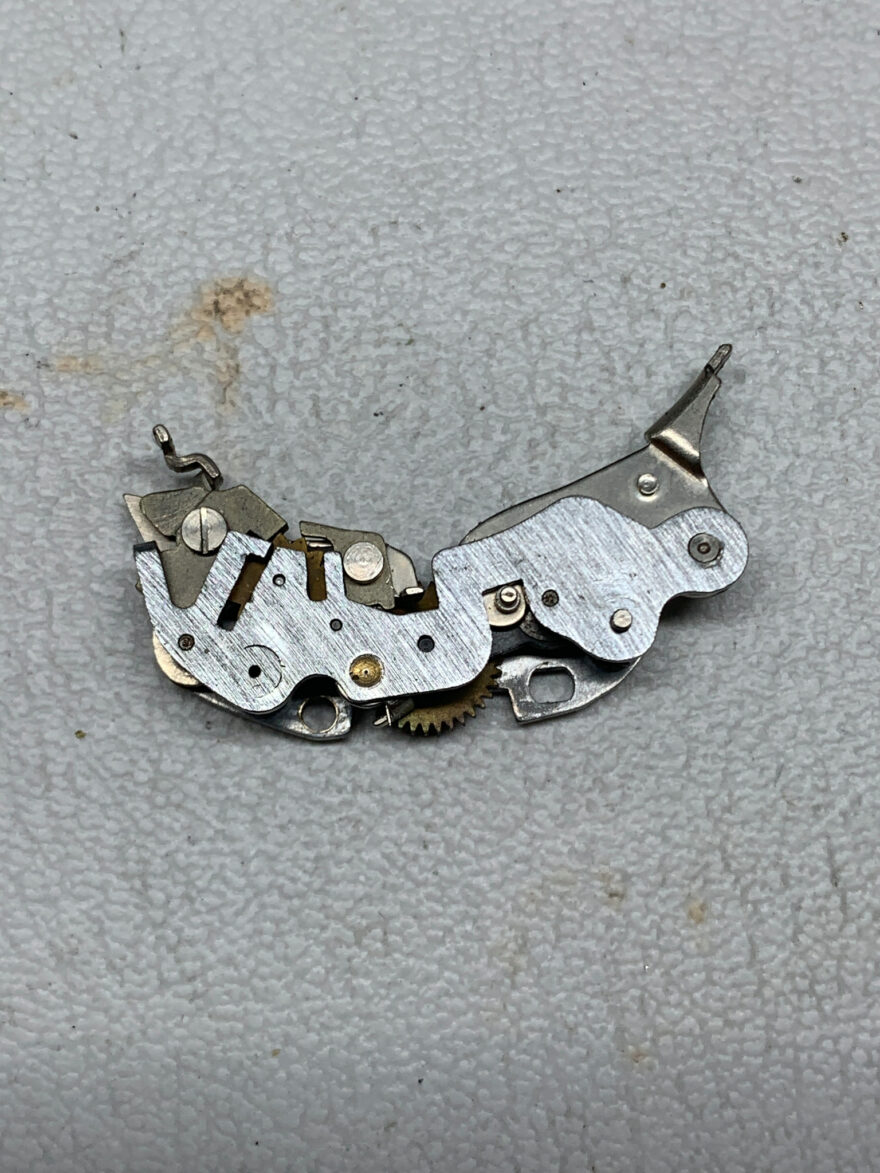
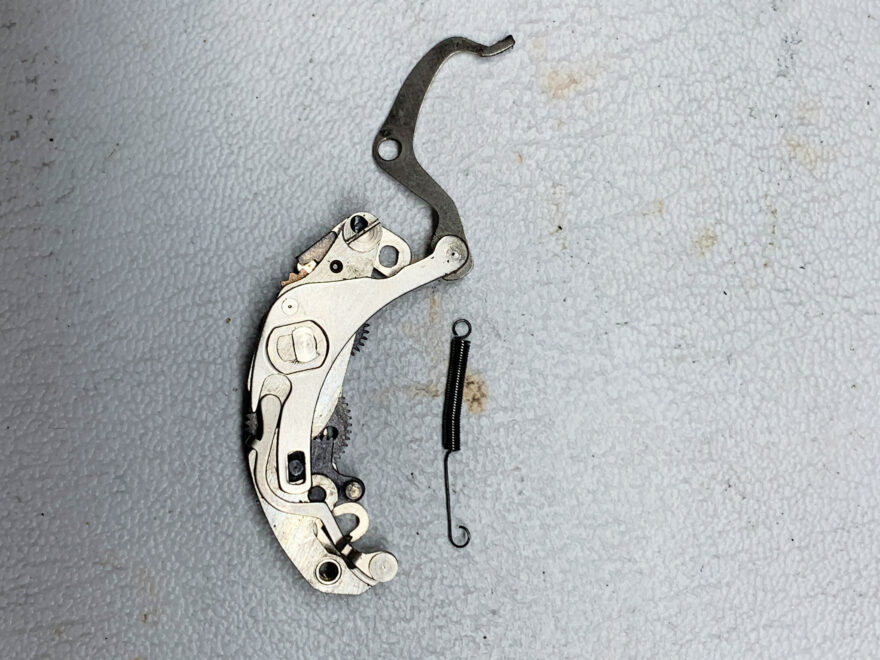
Putting everything together reminds me of my days as a child, first playing with lego and later, taking apart “stuff” to see how it works and put it together again. My parents would not have been very happy if they ever knew that our Yamaha HiFi chain from the 70ties were going through my little hands – just to satisfy my curiosity 🙂
Obviously, I am now rather grown-up and develop my skills even better than ever before. Given I had no reference or service manual for this gem, I kept on taking pictures of every single step to document the before and after. In the meantime, I’ve also top mounted a Sony a6000 on a desk holder and can record my sessions. This to get ready for my own channel on Youtube one day.
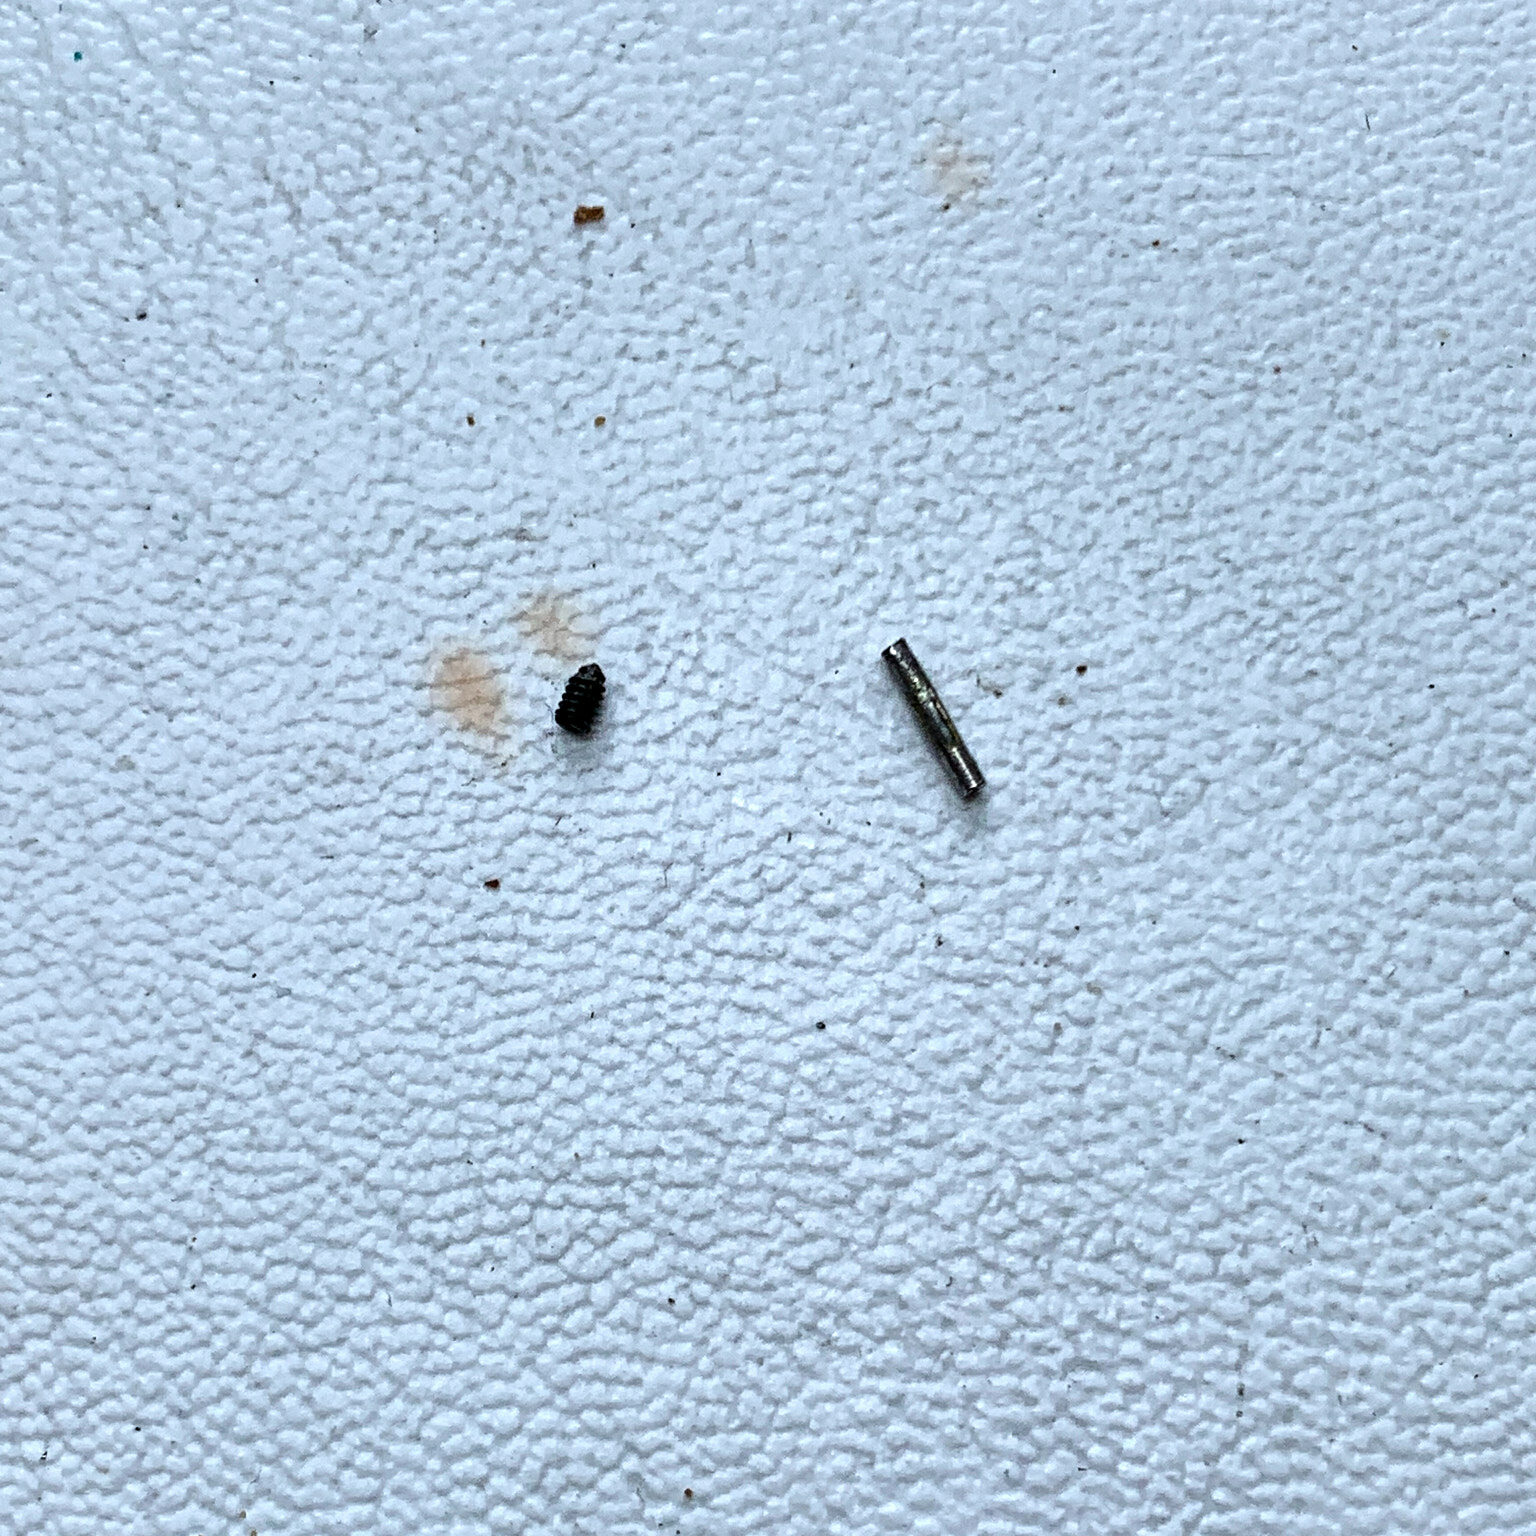
With all the pictures, reassembling the body was swift, except from once where I forgot a washer and had to take apart the inner shell again. No bother, helps to develop my skills, right? 🙂
I’ve tried to use a new cleaning product, replacing Acetone which gives me a headache when inhaling the vapours for too long. It’s an orange terpene from Liqui Moly and it works very well on old and stick oil and grease, to soften glue on leatherettes for easier removal and to clean bodies, however you have to be very careful not to remove painting.
Further, I was trying out different greases – but on that topic I will post a dedicated article in the future.
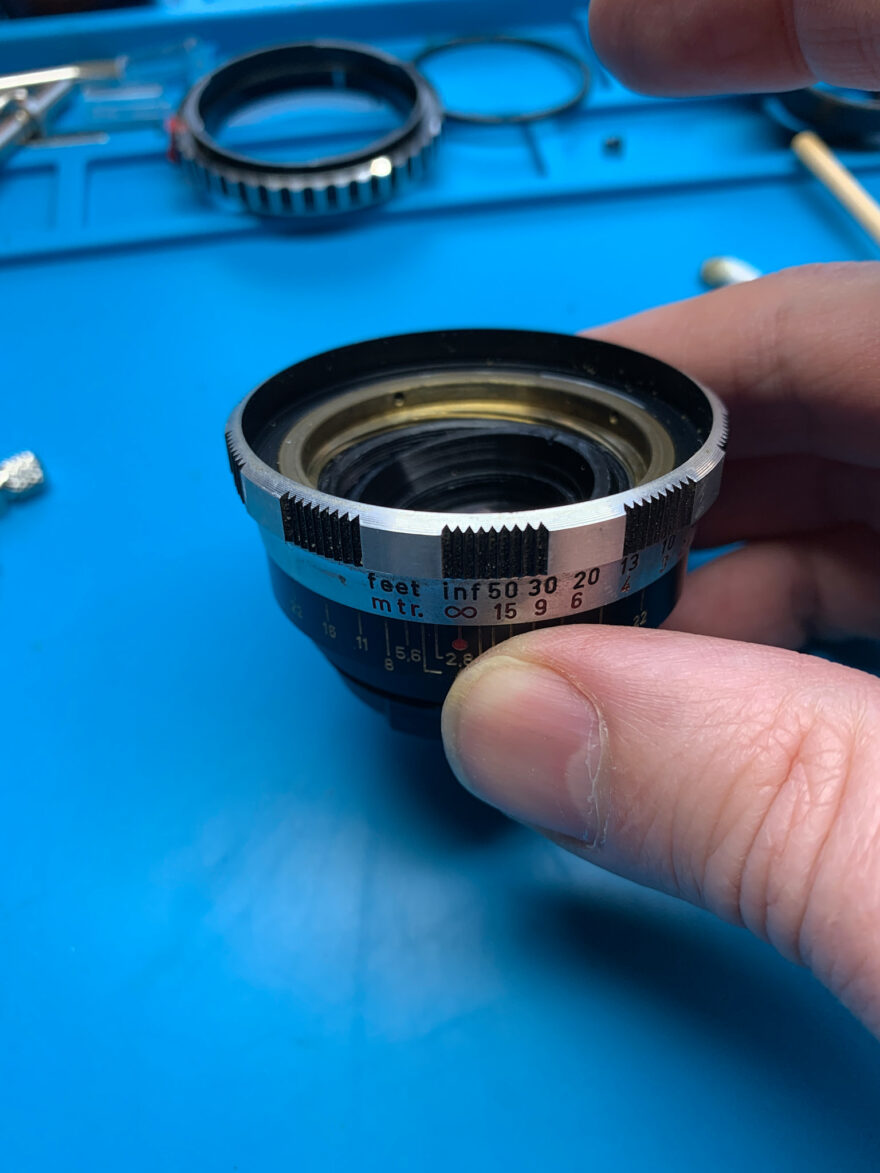
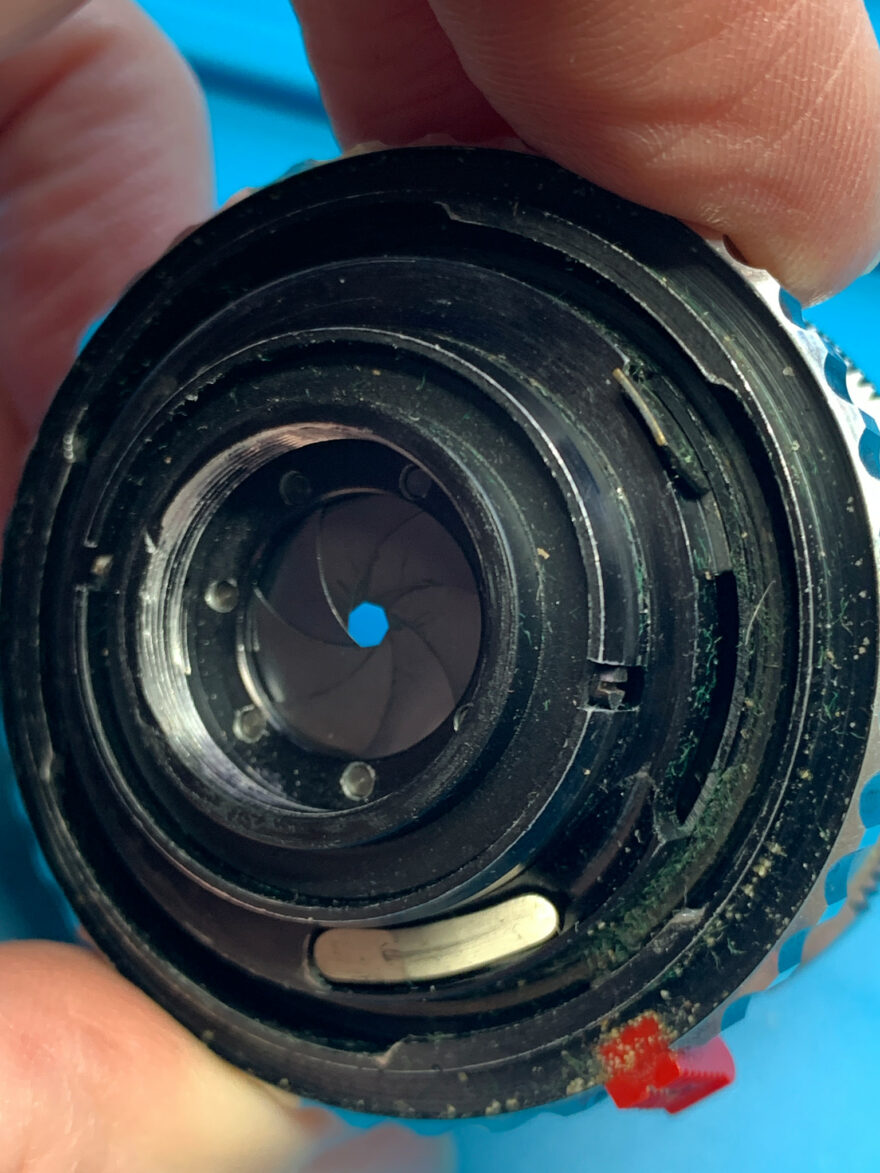
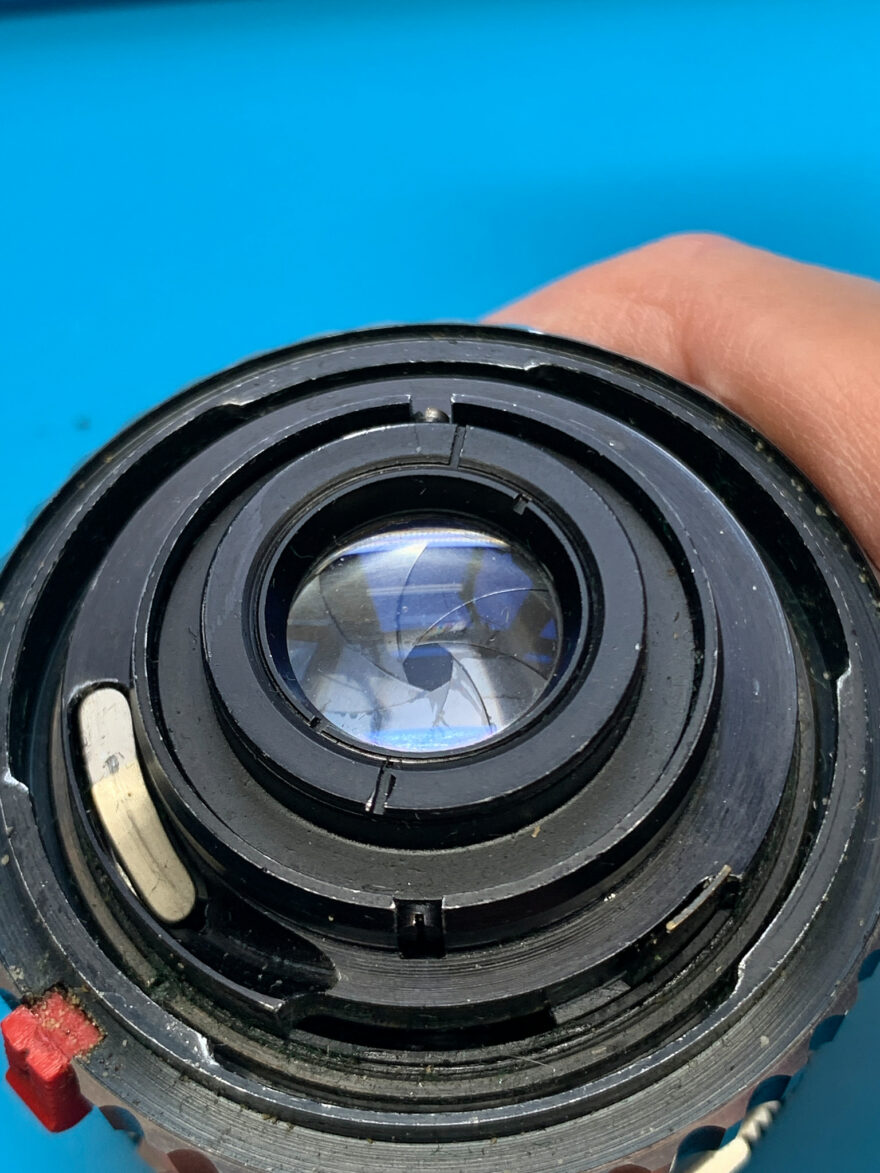
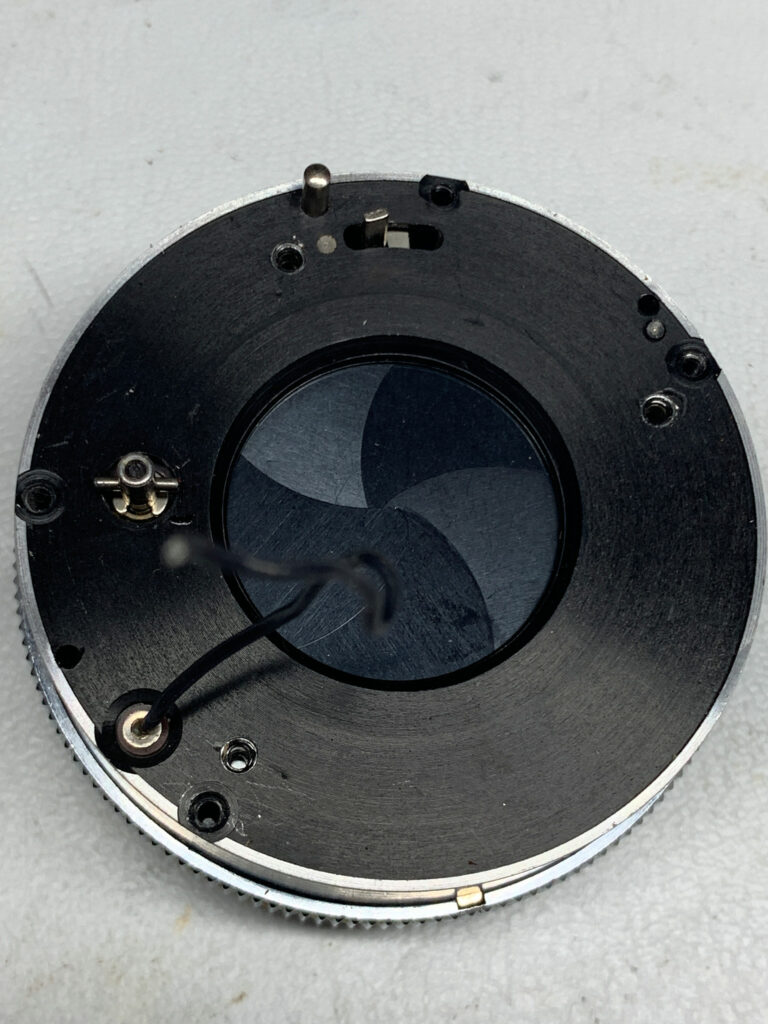
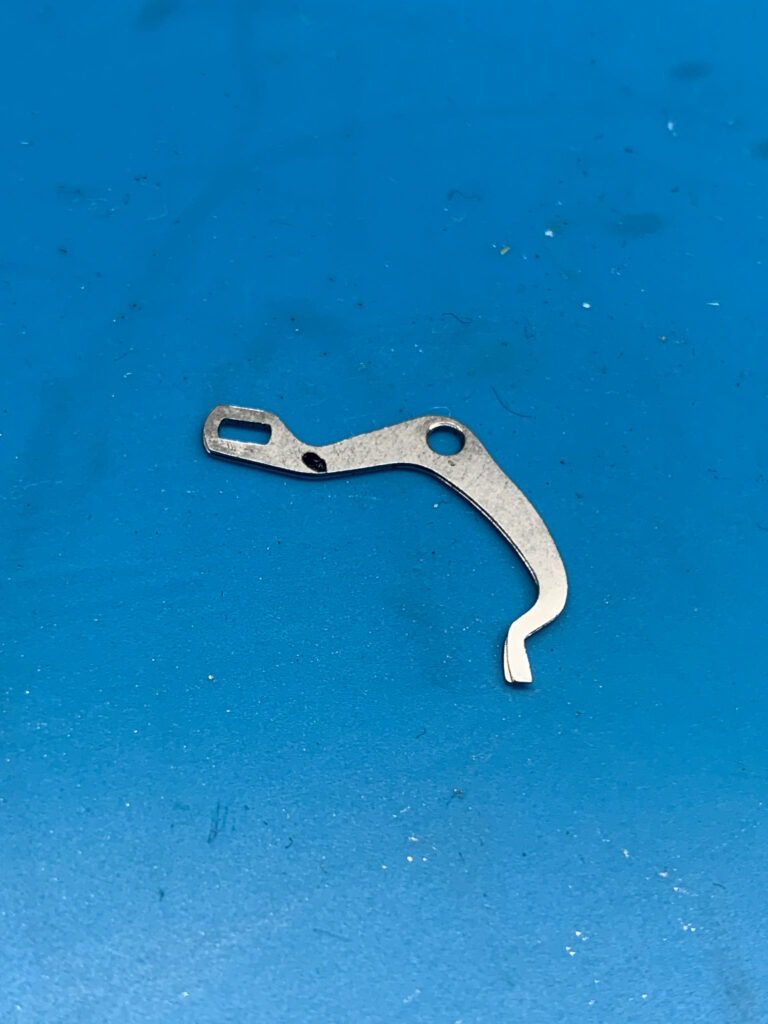
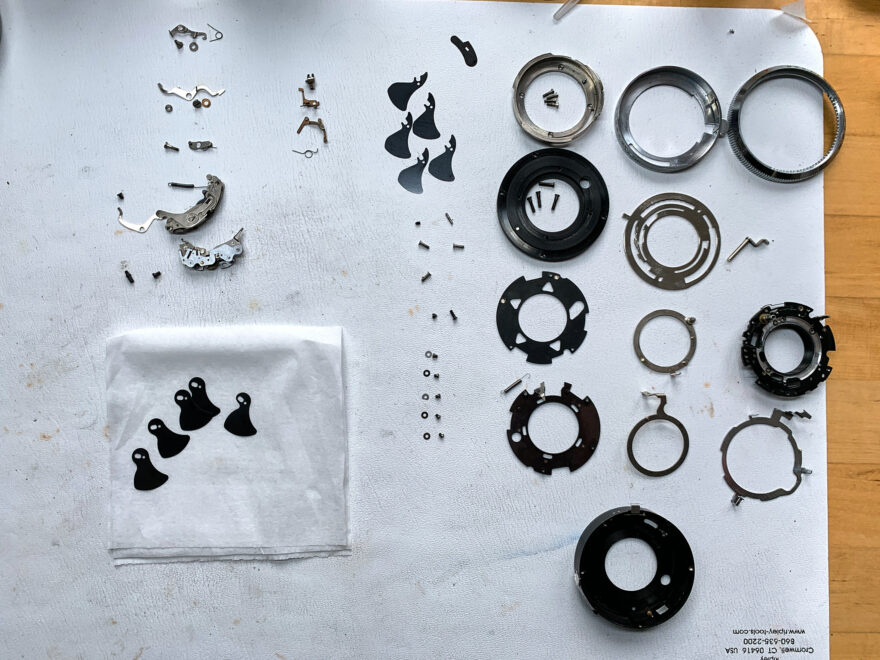
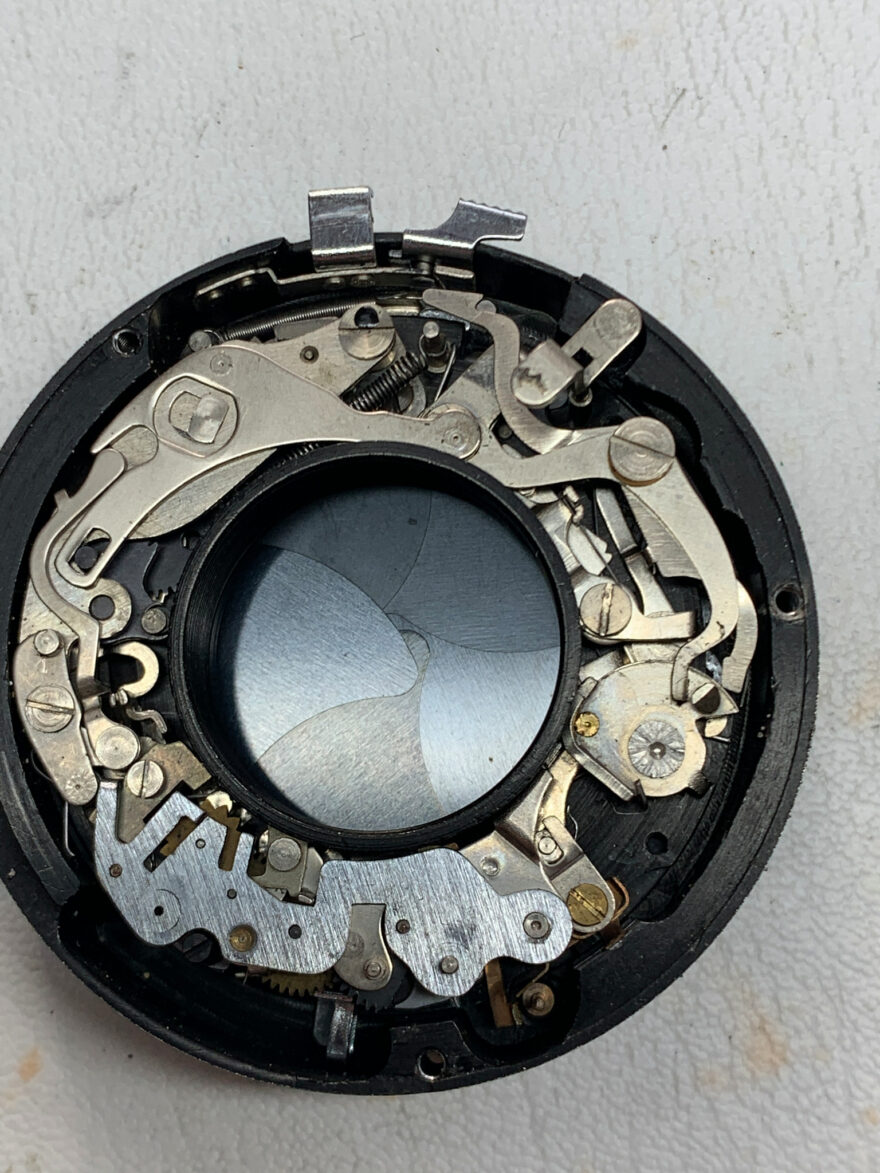
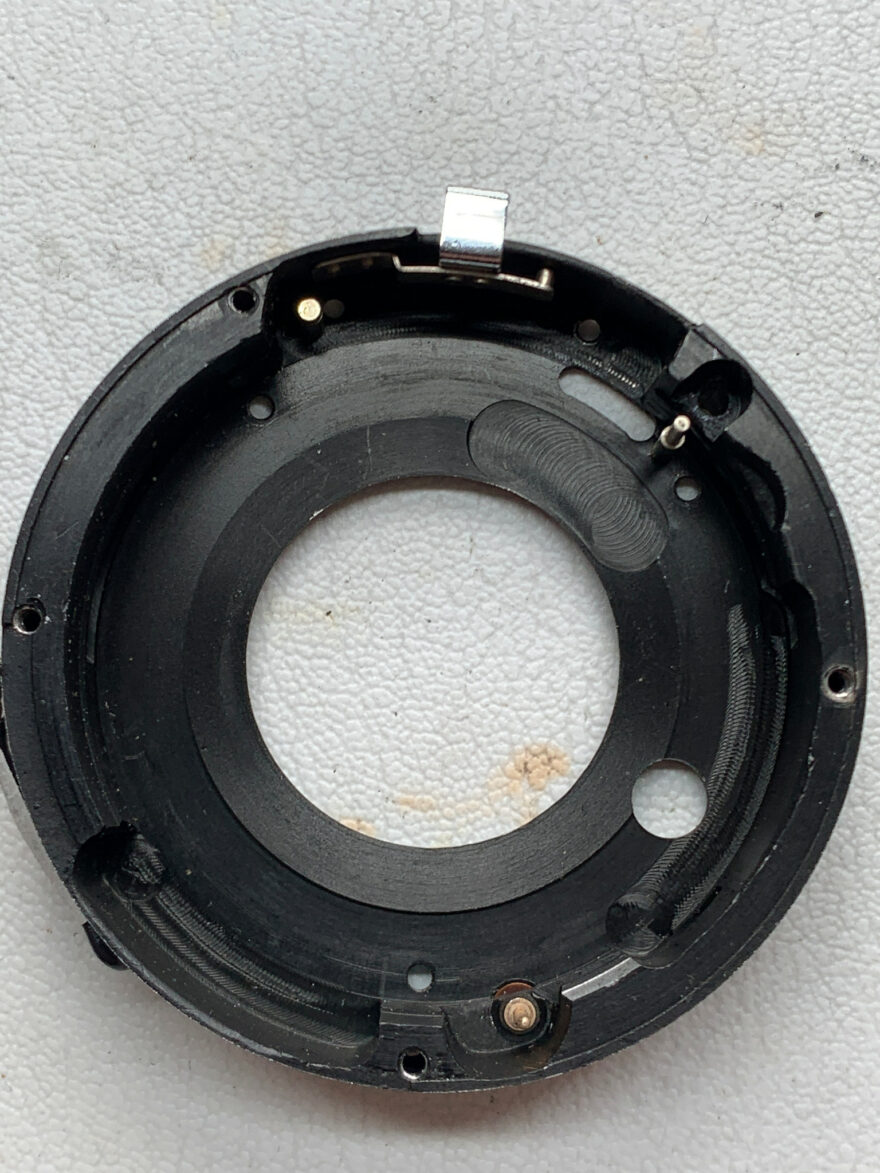
After the body was complete, there was one more thing…the lens, here a ENNA Ennit 50/2,8 with a pretty oily aperture. Given I have no experience yet with cleaning lenses as well as no possibility (yet) to verify and adjust focus, I was not forcing it an only took apart as long as I felt confident. This way, I could not take apart the aperture itself but had access from both front and back. With many (!) cotton buds and isopropyl alcohol I carefully flooded and repeatedly cleaned the blades. The result was good enough for the current stage.
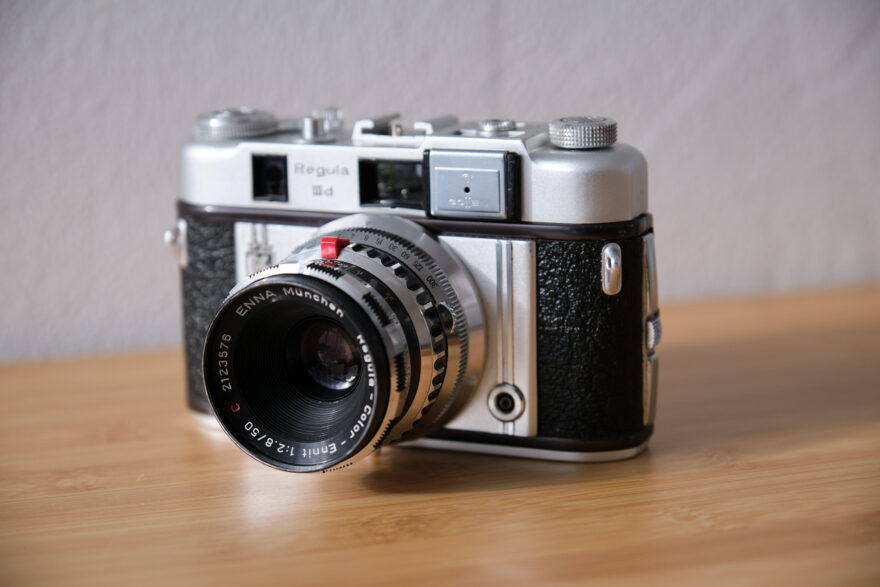
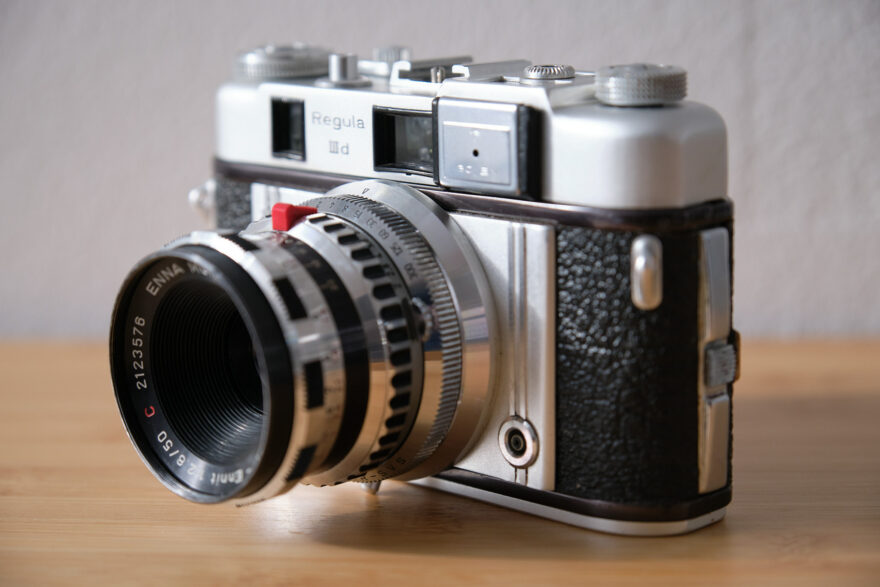
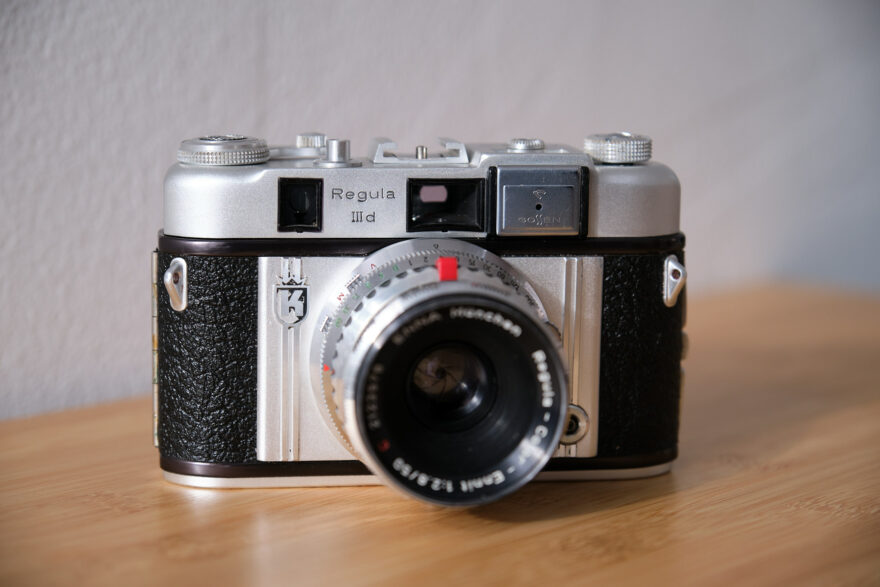
Lastly, the camera was brought to shining with a microfibre cloth. All that remains is a small repainting job of the black color in the front, which has worn off during the camera’s life. Below the finished work and some pictures of the lens disassembly.

