Some “first-timers” here: Prontor-SVS, shutter for interchangeable lenses and lengthy process to get the delayed action device doing its work. But step-by-step:

Given the Kind Regula IIId features support for interchangeable lenses, there must be an extra safety measure put in place to prevent light from entering the camera when changing the lenses. Gauthier therefore came up with the system of light-sealing shutter blades which only remain open until the shutter completes its cycle.
My challenge was to fully access both shutter and light sealing blades as you need to remove the pin in the chocking shaft, which took more efforts than simply removing the tiny screw holding the pin in place but carefully hammering the pin out of the shaft. I’m pretty sure there was a more convenient tool available back in the 50es :-) The reason for the difficulty is the pin being bulged in the middle to hold tightly in the shaft. I’d assume this was an extra safety measurement besides the screw.

Cleaning and reassembly of the different shutter blades was pretty straight forward and so was the rest of the shutter parts. The fun really started when I realised that the delayed action device (aka selftimer) did not remain chocked but always would snap back into its relaxed state. Clearly some timing was off, but which one? First, I read through the very long [Prontor SV, SVS and Pronto shutter repair manual](http://Download Prontor SV, SVS, and Pronto Shutter Repair Manual) but was not exactly clear in which direction I would need to bend the nose of the cocking arm, so I went with the second option which was to compare to a similar Prontor SVS shutter.
I therefore took the (working) shutter of a rather similar Kind Regula IIId automatic apart and compared the two cocking arms and it became immediately obvious what could be wrong:

On top is the one from the IIId automatic, underneath the one from the IIId. I’ve bent the latter to look similar to the first and the selftimer would now remain wound up and would run down when engaging it!!
With this adjustment done, I could put the remaining parts of the shutter together and proceed with the reassembly of the body. See part III.
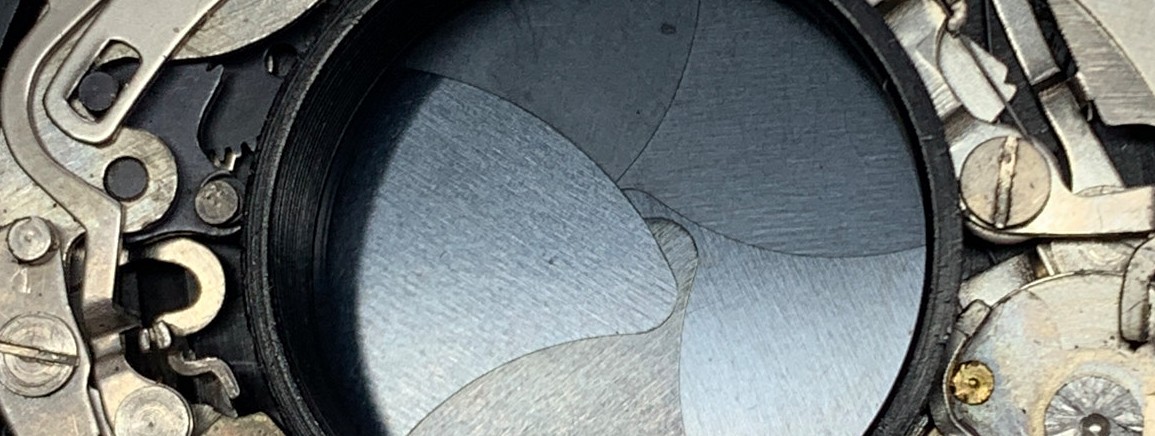
Some more pictures of the shutter - for your reference.


